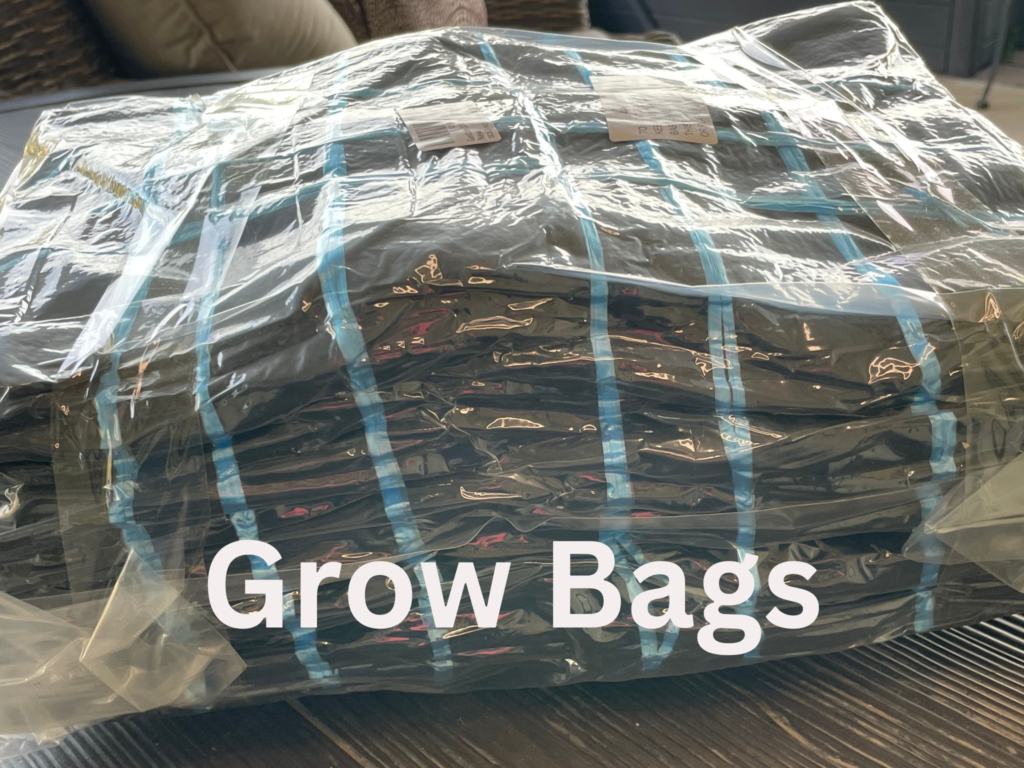
Growing potatoes and onions in grow bags is easy with these fabric grow bags that allow you to grow plants in just about any sunny location. The grow bags are made from a porous material allowing drainage so regular watering will be needed. They are a more environmentally friends option than plastic pots and many of them can be used year after year.
This post may contain affiliate links, which means that I may receive a commission if you make a purchase using these links. As an Amazon Associate, I earn from qualifying purchases.
ITEMS NEEDED LIST FOR GROWING ONIONS AND POTATOES IN GROW BAGS
- Grow bag 10 gallons or larger
- Seed potatoes of your liking
- Onion sets of your choice or green onions
- Soil (Loose soil, with organic material-I added manure to mine) potting mix or organic potting mix, 100% compost is another option

HOW TO GROW POTATOES AND ONIONS IN GROW BAGS
Before beginning we have a few steps to take. The site and soil are the same for both the potatoes and onion sets. The only extra steps is making sure the potato seeds are ready to plant.
PICK THE SITE
Do not plant your potatoes or onions until the frost danger has passed for your area. You can contact your local Cooperative Extension Office if you are unsure for your area. There are a couple things to consider when choosing the location. First, you will want to consider the sunlight available. In essence, the more the better but you can get away with 6 – 8 hours. Another important aspect to consider is the availability of water. Hence, you will need to keep them watered if rainfall is insufficient. Grow bags are meant to let the water drain out, so they will need regular watering.
Additionally I needed to consider where I would place these out of the dogs reach. My garden is being “renovated”, so I do not currently have a fence around it. All three of our dogs seem to enjoy grazing and think any pots with plants are large dog bowls.
PREPARE THE SOIL
Use a potting soil with fertilizer included in the mix, or you will need to add some fertilizer granules. You can grow them in 100% compost as well. I chose to add a bag of manure to give mine the nutrients they need to get started. The soil also needs to be loose not compacted. Starting with moist soil is important. There are two ways to go about this. You can use a large bucket or wheelbarrow to mix your soil and water before adding it to the grow bags. Alternatively, you can use the bags to mix your soil and soak it well after planting. Once planted you need to just keep them watered regularly.
Make sure you have more soil available because you will need to keep adding more soil to your potatoes as they grow up out of the ground just leaving around 4 ” of growth above the soil.
PREPARE THE SEED POTATOES

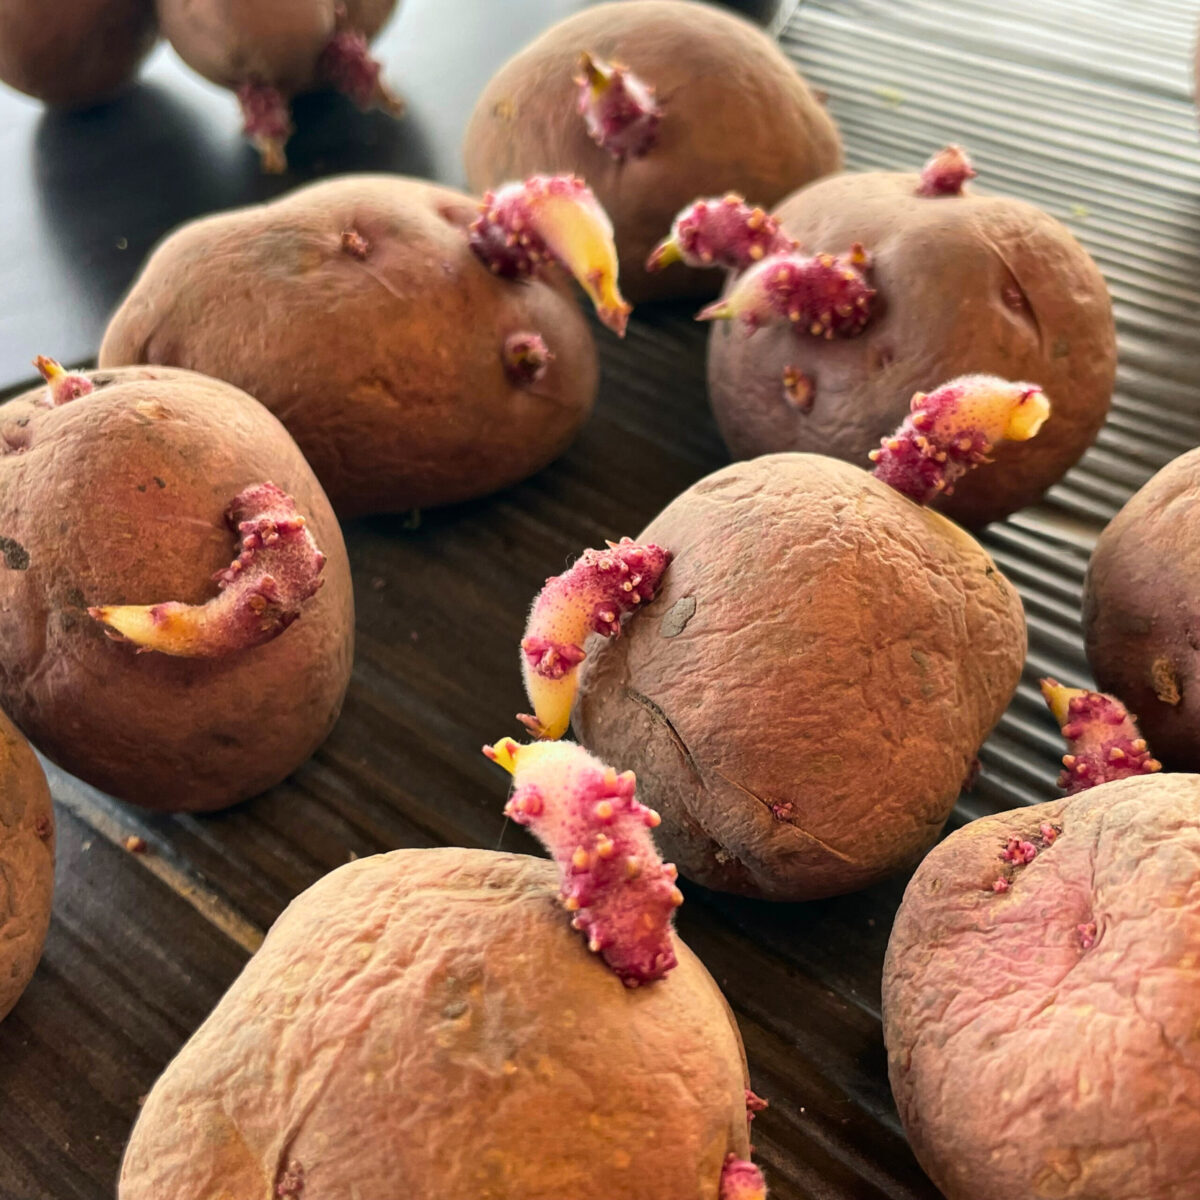
Before we get started you want to make sure your seed potatoes have about an inch of growth to them like the image above. If there isn’t any growth, place your seed potatoes in an empty egg carton in a sunny window. This will encourage them to start to grow. If there are multiple areas of growth on one potato, you can cut the potatoes into chucks about the size of a lime with at least one eye on each. If they are small seed potatoes you can keep them whole. If you do cut them they will need to harden on the cut sides before planting so they don’t simply rot in the ground. The seed potatoes I have are not much larger than limes so I chose to keep them whole.
FOLLOW ME ON SOCIAL MEDIA AND SHARE THIS RECIPE
SIGN UP FOR NOTIFICATIONS SO YOU NEVERMISS AN UPDATE
LETS GET STARTED
Now that the site, soil, and seed potatoes are ready we can begin. I will go through the process of planting the potatoes and with a couple alterations. Then I will go over planting the onions.
First, start with around 3 inches of soil mix in your grow bags. If using a 10 gallon bag I wouldn’t plant more than 4 seed potatoes because they will need room to grow and produce potatoes. Insure you space them out and have the growth pointing upwards. Try to keep them around 4 inches apart.
Now bury the seed potatoes in about 4 inches of the soil mixture you are using. Roll down the top of the bags just above the soil line to allow them to receive full sun. This will be unrolled as more soil is added as the plants begin to grow. If you didn’t use wet soil, when you are done with the planting you will want to really soak them down. The bags will allow excess water to drain out.
Greens sprout should appear in a week to a week and a half. Let them grow up to about 6inches or so, then add a couple more inches of soil. Keep doing this until you reach the top of the bag. Leave an inch at the top of the bag. Do not fill it to the very top with soil or the water will run right off the sides when you try to water them.
When the foliage starts to yellow and wilt towards the end of the season, stop watering, wait another week or so and then you can harvest your potatoes. For this reason you do not want to mix species in the same grow bag because some will finish and die off sooner than others.
PLANTING THE ONION SETS
The only real difference here is that we start with more soil in our grow bags. I added 4 to 5 inches to my grow bags and then planted the bulbs. You can add more, but I wouldn’t add any less than this since the onions will grow under the soil and the roots and bulb need room and nutrients.
They need to be planted with at least a few inches between, so I try to plant them in a diamond pattern allowing more onions in the same space. If you don’t fill it to the top, once again roll the sides down to allow full sun.
LIKE VIDEO’S? FOLLOW ME ON –> YOUTUBE
WHY SHOULD I GROW POTATOES IN GROW BAGS? Typically, when growing potatoes the hilling method is used allowing for the root to make a lot of potatoes but typically there are losses when harvesting. Which ever method that is used there can be damage to some potatoes.
Using a pitchfork to expose the buried potatoes usually results in damage to several potatoes. Another loss is not harvesting every buried potato. Obviously being grown under ground there is no way to guarantee you will dig up every single one. With grow bags they can simply be dumped out ensuring you gather all of the potatoes and no damage from needing to use tools to uncover them.
They also allow people to grow them that don’t have the room to otherwise. If you have a heavy clay soil it limits your potato harvest as well so using grow bags will increase your yield for that reason as well.
CAN I HARVEST SOME EARLIER? Absolutely. You can reach in and harvest a couple little spuds if you want to, just make sure you harvest them all before the first frost.
Growing tips
*Grow bags prevent soil borne diseases, however if you set them directly on the ground it negates that perk. So if you set them on the ground at least set them on a patio block.
*Make sure new tubers (spuds) are covered with soil to prevent sunscald or greening.
* Keep your soil moist but not sopping wet.


