
I have so much fun creating gifts with my Cricut Maker from etching glass, etching stainless steel, making shirts, signs, and canvas creations!! Today I’m walking you through creating an image on a canvas with permanent vinyl and paint. This is a funny saying a friend of mine likes, so this is for her.
List of what you need to make this idea
- Canvas what ever size you’d like to make it
- Permanent vinyl
- Transfer tape
- Weeding tool
- Burnishing tool
- Paint (colors of your choice)
- Paint brushes
- Rustoleum Crystal clear enamel spray gloss
- Vinyl cutting machine-I’m using a Cricut Maker 3
- SVG from PlasmaAU you can purchase on her Etsy for $2.50 at this link: https://etsy.me/3WKCsjl
Steps to making this design
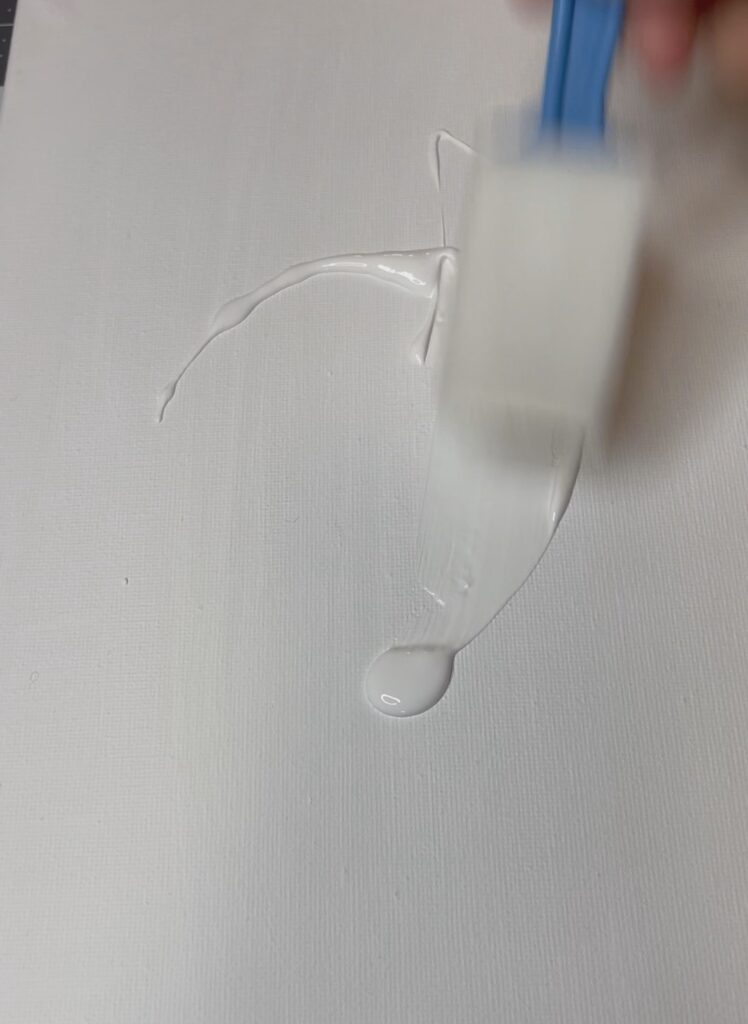
First off you want to purchase the design. Then paint your canvas. This step is important because the vinyl really needs a smooth surface in which to adhere too. Let this fully dry before applying your vinyl
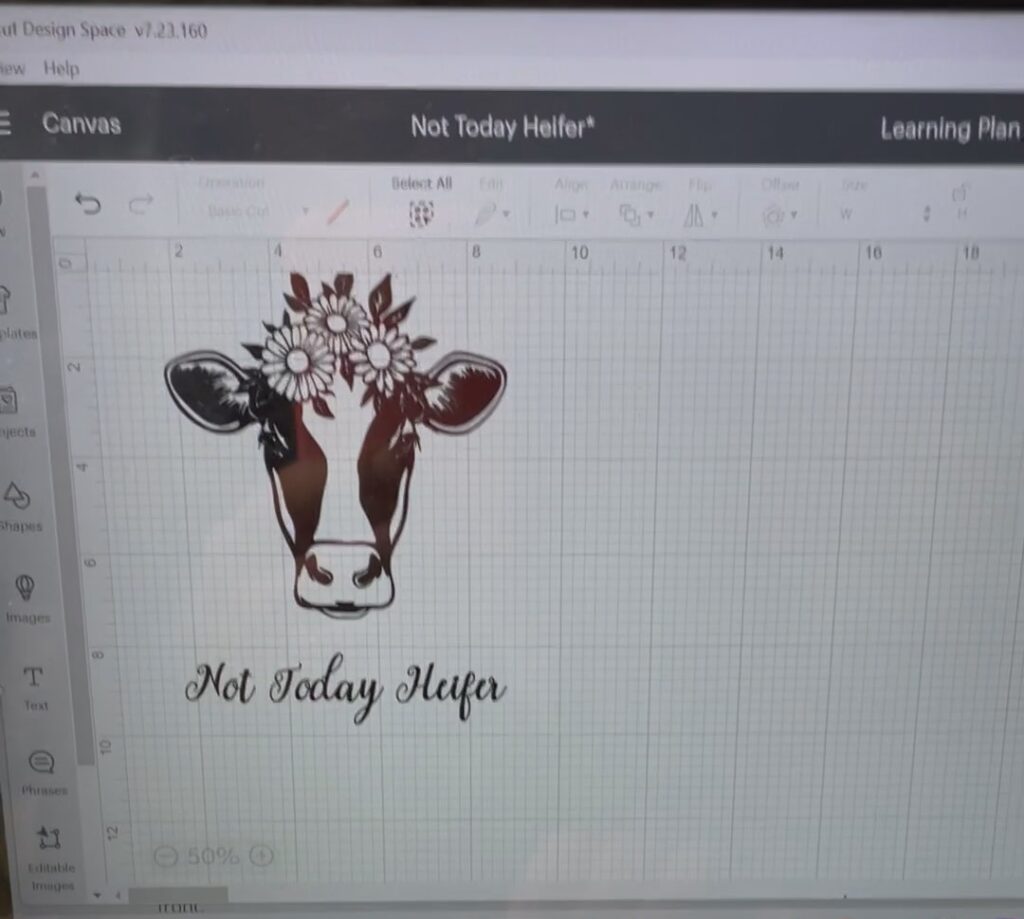
Second, you will want to upload your purchased design to Cricut Design Space and resize it to fit on your canvas
At this point, I always double check my image and make sure everything including the size is correct. You do NOT need to mirror this design.
Then you will click on Continue in the bottom right hand corner of the page. The computer will now attempt to connect via Bluetooth or connected cable to your machine.
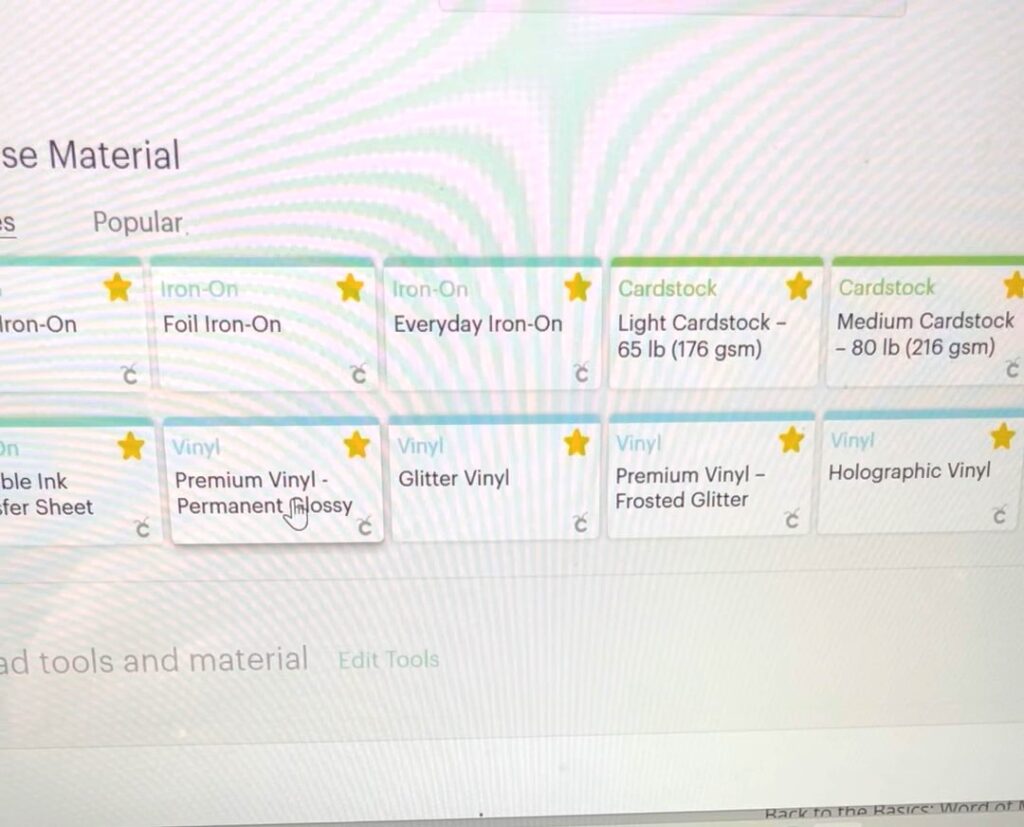
AT this point you simply select your material and if there are any special instructions (which there aren’t for this ) it will tell you on the screen. For example, it will remind you to make sure your image is mirrored when you are using certain vinyl products and it will tell you to place them shiny side down on the mat for example.
Now all you need to do is cut the appropriate size of permanent vinyl for your project since I am using my mat for this cut. I am using a glossy black permanent vinyl since this is a cow image.
Your machine is now ready with your design, so you will load your mat and press the sideways “play” triangle button to tell it to go ahead and begin.
Once your project it cut it will unload most of the way and you press to unload it the rest of the way.
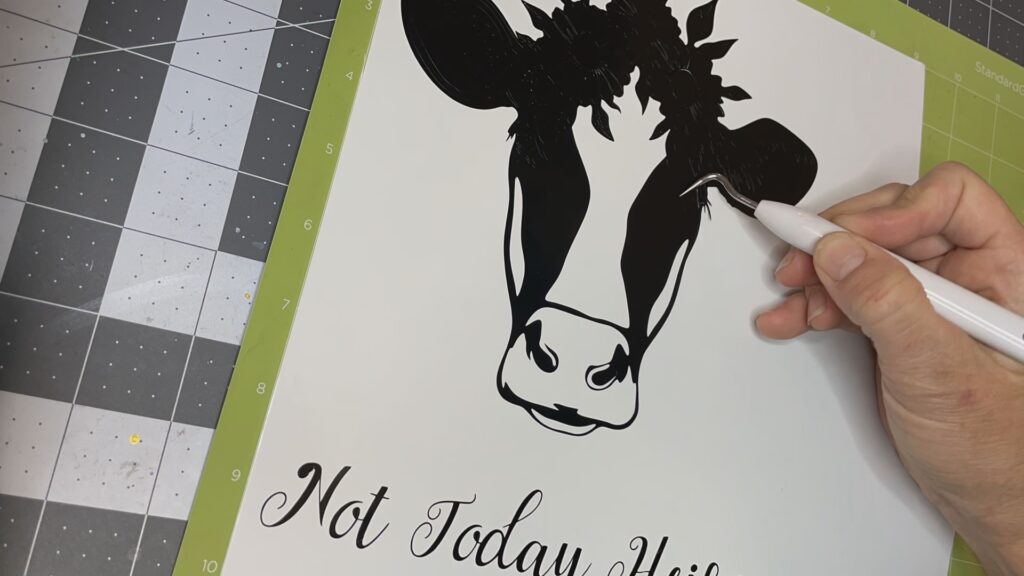
I find it easier to weed my designs while they are still stuck on the mat. I am not having to hold the vinyl down while I am working to remove the excess vinyl pieces.
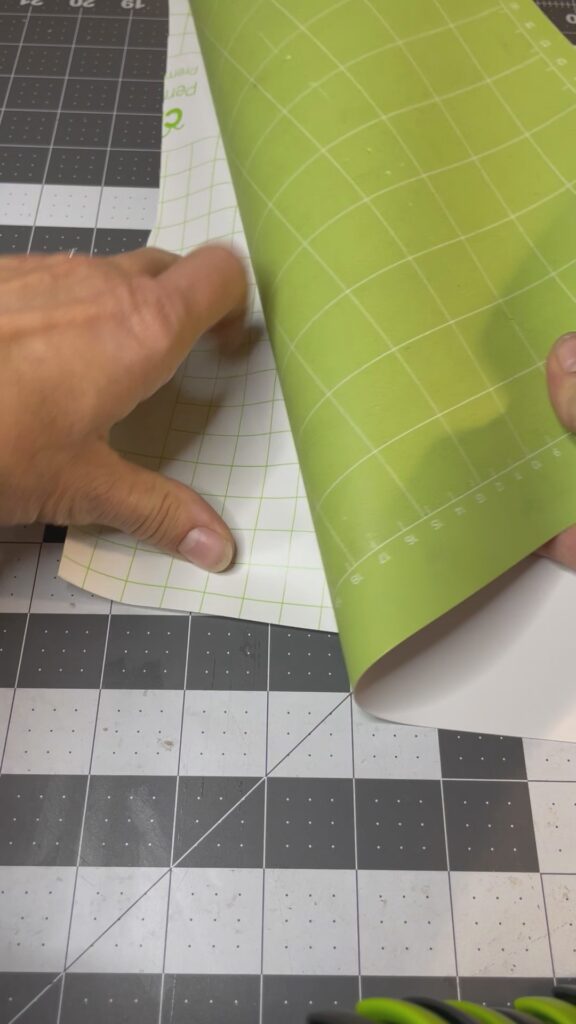
Since your design is completely weeded, you can now flip over the mat and hold down the paper while bending back the mat and removing the mat from the paper so you do not damage your project.
Cut to size a piece of transfer tape the same size as your image. Starting from the top down, begin to apply the transfer tape and burnishing it down as it is applied. Then flip over the image and burnish it from the back and carefully, and slowly remove the backing so the image is stuck to the transfer tape.
Go slow to make sure it all comes off nicely. If you have any trouble burnish it some more and try again. I will also stop and cut the backing off as I go if it is a large project to make it easier to handle.
FOLLOW ME ON SOCIAL MEDIA AND SHARE THIS RECIPE
SIGN UP FOR NOTIFICATIONS SO YOU NEVERMISS AN UPDATE
Applying the Vinyl to the canvas
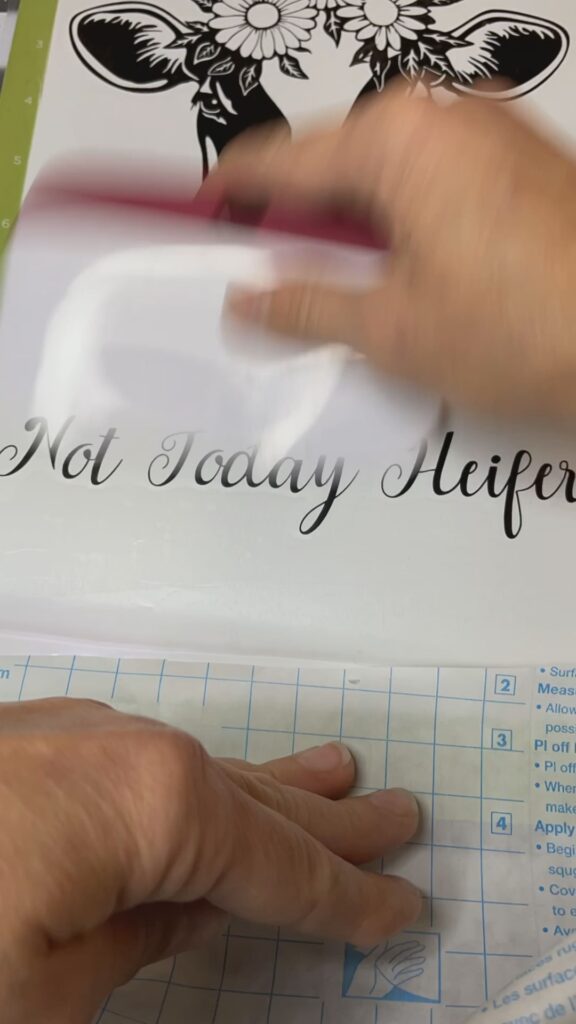
Now that your design is on your transfer tape you can apply it to your painted and completely dried canvas. You will want it lined up the first time because once it’s down it’s down.
Once again burnish the image on the front and then again on the back of the canvas before removing the transfer tape.
This is also a slow process to make sure the image transfers to the canvas just like it is supposed to. You’ve done to much work to mess it up now in a hurry.
Painting and sealing
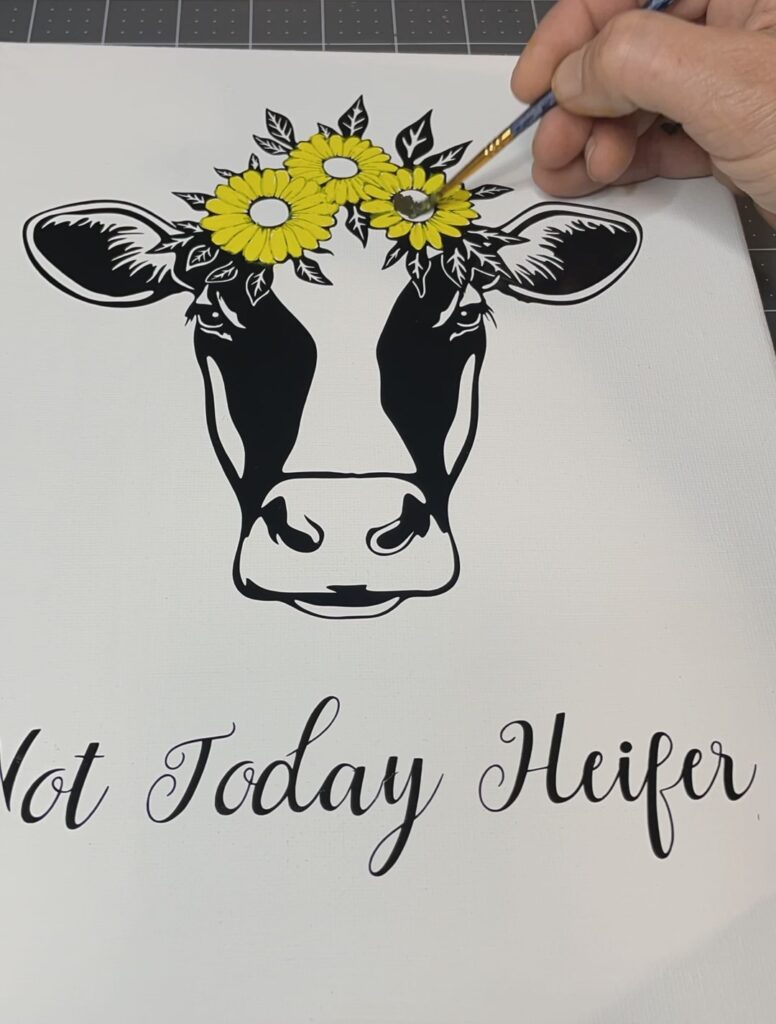
Since the image is now secured on the canvas the painting fun can begin. As you see I chose a simple daisy look painting my flowers yellow with the centers being a burnt sienna color.
I just love how this turned out.
I felt like she was needing a little more, so she also had a little color added to her lips. Then I used a reddish paint color and applied it sparsely.
Once the design was totally dry, I applied Rust-oleum crystal clear enamel spray gloss. I applied three layers letting each one dry in between. This step isn’t totally necessary but I wanted to make sure it was easier to wipe clean later and more protected.
I hope you enjoyed this project. It was so much fun to make. I think I will make more of these mixed medium projects in the future.