
I love starting seeds at home and growing my own plants. I save so much money and I am not limited to buying whatever they are selling at stores around me. I purchase the seeds I want to try and keep a record of how successful or not they are so I know what I may want to reorder the next year.
My neighbors also grow their garden from seeds and we will swap out some plants as we begin to move them outside increasing my variety as well. It is a very rewarding feeling to watch the seeds sprout, grow, and produce for me. I can also save the seeds from my produce and use them the next season.
DO I NEED GROW LIGHTS? No, at this point you only need the warming mat. You do not need light until they sprout. I do not use grow lights. I use shop lights on chains and raise them up as the plants grow. You want the lights to be just above the plants so they do not get long, lanky and weak.

EQUIPMENT NEEDED
- Bucket
- soil
- greenhouse tray
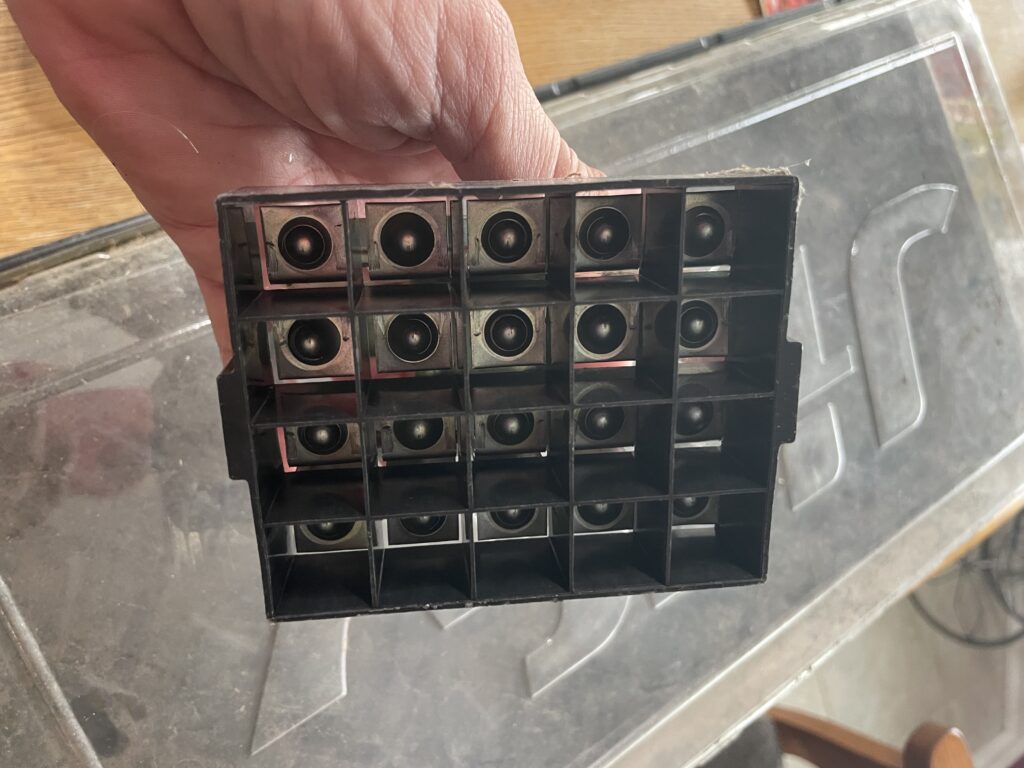
- seed block maker
- warming mat
- seeds
VIDEO OF THE PROCESS
LIKE VIDEO’S? FOLLOW ME ON –> YOUTUBE
FOLLOW ME ON SOCIAL MEDIA AND SHARE THIS RECIPE
SIGN UP FOR NOTIFICATIONS SO YOU NEVERMISS AN UPDATE
HOW TO START VEGETABLE SEEDS
It’s so easy to start your own seeds every year instead of spending a lot of money on plants that are already grown. I reuse my supplies every year and replenish as needed. I keep all of my seeds in the freezer and only get them out when I am going to plant them. It triggers them going from the cold into the warm just like how nature works. You don’t really want to start your seeds earlier that 6 weeks before the last frost.
I know here in Oklahoma it’s typically safe to put my plants out on April 15th, so I will try to start my seeds around the first of March. I have started them earlier but they got so big I had to move them out before. I have been lucky enough to protect them from frost on occasion but just lost half of them a couple years ago. When you go through the work of growing them that can be heartbreaking so I don’t start them before March1st anymore.
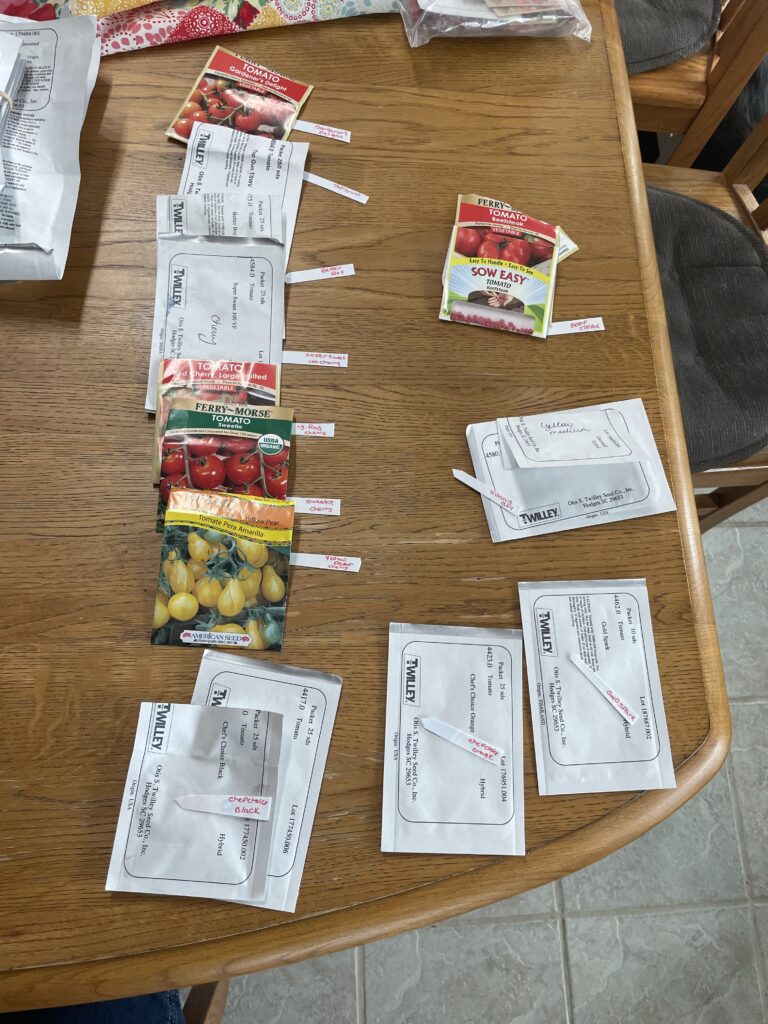
- I start by getting all of my supplies ready. If I need more vegetable labels I just use an empty plastic container, like sour cream, and cut them out myself. This is another way to save money.

2. I get my tray ready and the seeds I am going to be planting and use a sharpie to write them down on the labels.
3. I put some of the soil into a bucket and add water to it to make it like a muddy mixture but not so much water its dripping. We want the soil really moist so when we place the lid on and place it on the warming mat it literally becomes a greenhouse retaining the moisture while heating the soil.
4. I scoop the mud up and press it firmly into the seed block maker mold. You can see how this works in my video above. If there are any large pieces of wood in my mixture I remove those and then press it down into my tray. I can put 6 blocks side by side along each side of one tray. This means I can plant 240 seeds in one tray. Of course if you don’t need this many you can purchase a smaller greenhouse tray or just put less into it.
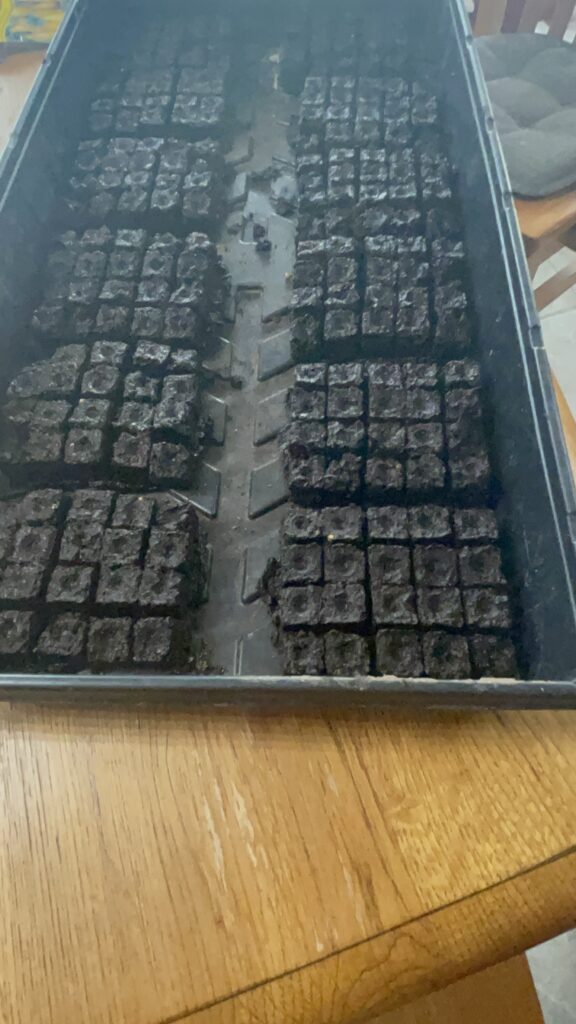
5. Now that my tray is full of empty blocks I start placing in my seeds and their corresponding labels.

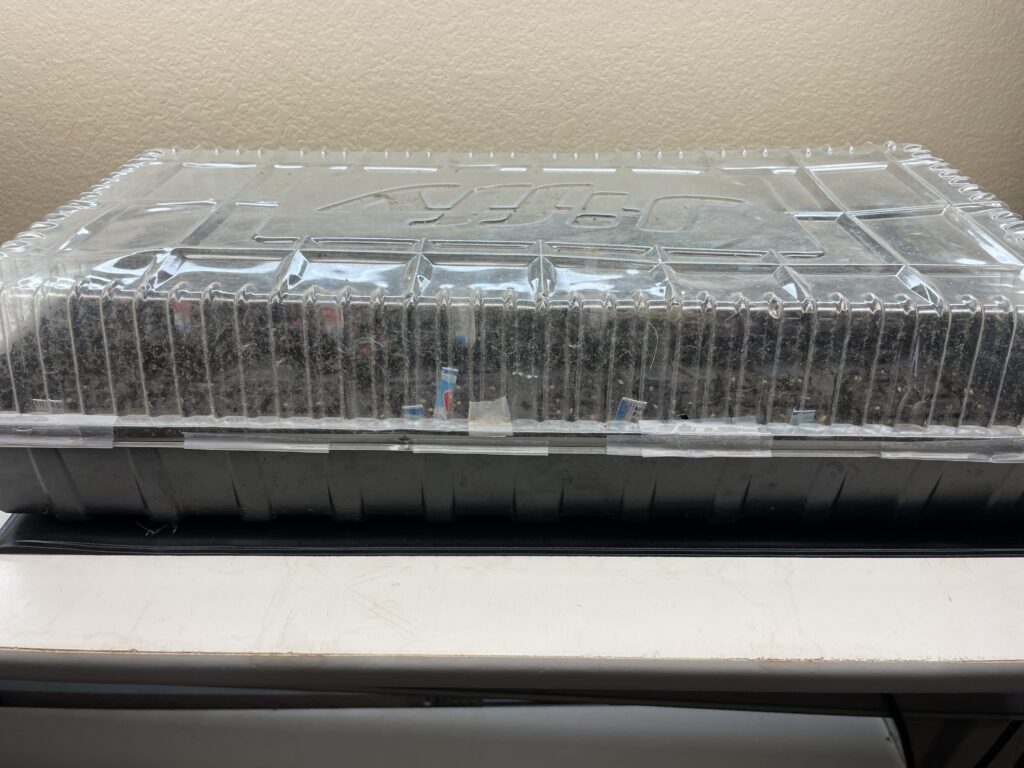
6. Once the tray is full I put the lid on it and set it on my warming mat. The trays I use are about 11″ wide so I can place two on my mat at a perpendicular angle. I have found that the entire tray doesn’t need to be on the mat because with the lid on it still warms all of the soil.
Below are the heat mat that I use every year and the programmable surge protector that I use as well. Having the lights plugged into this programmable surge protector saves me time and I don’t have to worry about forgetting to turn the lights on or off.


7. Once the seeds start to sprout I repot them and place them under lights. You will see that in my next post.
One the seeds sprout it will be time to get them transplanted and under the lights. You can read the post about that process HERE.