
Time to transplanting the seedlings! Three days after I put the seeds on the warming mat the tomato seeds sprouted, so the time has come to transplant the seedlings. The peppers were not far behind and started sprouting after 5 days. If possible I transfer my sprouts to larger containers within a day or two of sprouting because now they don’t just need heat they need the light. So I gathered my supplies and got to work. I’ll tell you everything about what to do once the seeds sprout. Here is the link to read the post about how to start seeds at home.
HOW MANY HOURS OF LIGHT DO THE SEEDLINGS NEED? A good range is anywhere from 10-14 hours of light a day. I achieve this with a surge protector that has a programmable built in timer that my lights are plugged into.


This image on the left is the programmable surge protector I use that automatically turns my lights on and off at the times I set it for. The image on the right is the set up I use for my seeds. Each shelf will hold 4 trays of seedlings. In this image I haven’t lowered the lights so you can see it better.

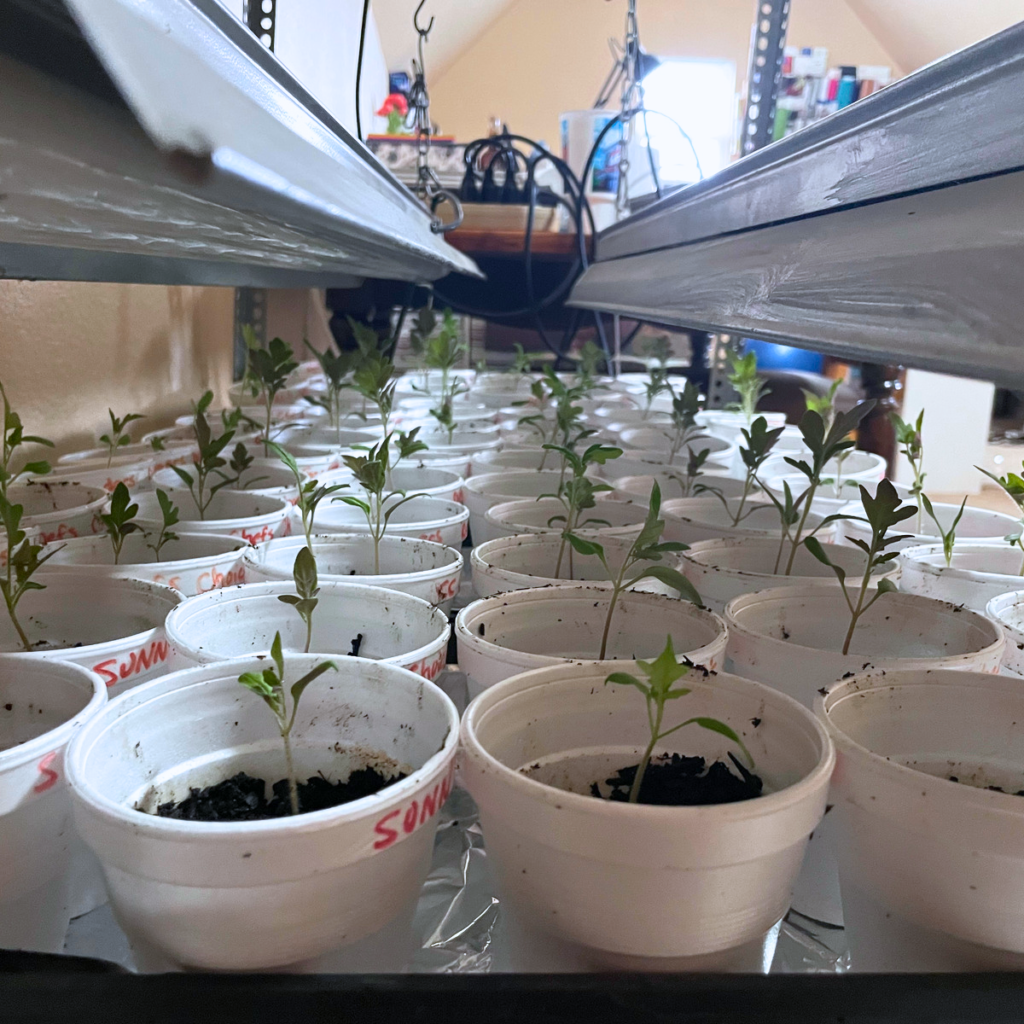
Embarrassing picture alert. This room works quadruple duty as my craft room, the workout room, my seed starting room, and storage as you can see the mattress in the background. 🙂 The image on the left I wanted to show you how I use my lights. These are just fluorescent shop lights that we hang from chains. As the seedlings grow and grow I raise the lights one link at a time to stay just above the plants. The image on the right you can see better how they are lowered to stay just above the tallest seedlings. These seedlings are about 3 weeks old and are an assortment of many different kinds of tomato plants.
WHAT’S THE NEXT STEP? TRANSPLANT THE SEEDLINGS
Now we move the little spouts into their larger temporary homes. I usually use the cheap plastic pots but many were thrown away after years of use so I am using Styrofoam cups this year. The nice thing about using these is that I can write on each one of them what specific plants they contain. I gather up all my supplies so I have everything I need, including the seedlings, because it can be a bit messy.
EQUIPMENT NEEDED TO TRANSPLANT THE SEEDLINGS
The supplies are pretty basic and many can be reused year after year. As I said my cheap plastic pots needed replaced this year but since I did not have the time to get them ordered, I used Styrofoam cups.
- Styrofoam cups or planting pots
- Marker for writing the specific types on each cup plus I use it to create the holes for the seedlings.
- Bag of seed starting veggie mix soil
- Something to separate out the little sprouts. I just use a knife, some people use a spoon, or what have you.
VIDEO OF THE PROCESS OF TRANSPLANTING THE SEEDLINGS
LIKE VIDEO’S? FOLLOW ME ON –> YOUTUBE
HOW TO TRANSPLANT YOUR SEEDLINGS ONCE YOUR SEEDS SPROUT
Within a day or two of them sprouting you will want to get them potted and under the lights. This is the process I use. You can see this process in the video I made above. I will post more as the plants grow and show you how I harden them off inside and then outside for a period of time before planting them in their beds for the season.
- First I get my tray of sprouts ready and gather the supplies I listed above.
- You will first want to fill some of your planting pots or in my case the Styrofoam cups and label them so you know what type of plant each one contains. I do this by transplanting each type individually.
- Now in the center of each cup a make a hole by using the end of the marker as you can see in the video.
- One at a time I separate each seedling with a butterknife or spoon and take them one at a time and place them in their designated cups.
- You want to bury most of the stem leaving just a little under the leaves exposed. They are very delicate so do this gently but also make sure the soil is packed down well around them.
- I fill each tray with the cups as they are completed and give them all just a little bit of water to make the soil damp. (This is important-You don’t want to overwater or underwater them) I touch the soil on top every couple days to see when they need a little more water. When they feel like dry you will want to add just a little more. I find that I need to water every 3 days or so depending on humidity.
- When that process is done I place the tray with any unsprouted seeds back on the warmer and move my completed trays to the light stand.
- Using my programmable surge protector I set the time for the lights to turn on and off to ensure they are receiving 10 hours of direct light a day.
- Now I lower the lights so they are just above the plants and as they grow I use the chains links to move the light up to keep them just above the growing plants.
THINGS THAT CAN KILL YOUR SEEDLINGS?
Growing your own plants from seeds can save you so much money and it is very rewarding. I fell in love with the process and hope you will too. It’s really not that hard once you get the hang of it but there are a couple things to keep in mind.
Damping off means the sudden death of a seedling. Damping off is commonly caused by a fungus. The process of growing seeds creates an environment for fungus as well with the warm wet environment. I haven’t had a problem with it but wanted to tell you all that it is a possibility. Using a clean container on the warming mat and good seed starting soil mix help to alleviate the problem.
In addition, giving the seedlings too much water or not enough water can also be a reason they die. You will want to check the soil and when it’s dry on top give them just enough to wet the soil again.
Keeping the plants away from cool drafts and giving them the required amount of light will help you be successful in your seed starting journey.
Do not feed the seedlings they are too young and get all they need from the light and the good soil mix. Feeding can destroy the roots and burn the tender foliage. They shouldn’t need anything extra until planted outside.
Tips
*The best temperature for the plants is between 70-80 degrees F
*When the soil is dry to the touch it's time to give them just enough water to wet it again.
*Thin the plants is there are multiple together as they start to grow.
*They plants need between 10 - 14 hours of direct light a day.